3D CapCut Zoom Template
Scroll through TikTok for five minutes and you will see it: a still photo that suddenly gains depth, the background drifting away while the subject pushes toward you, like the camera is flying through the scene. That is the 3D zoom effect, and it has become one of CapCut’s most searched template styles. It turns flat images into cinematic moments, and it takes about thirty seconds to apply once you know where to look.
In this guide, we will break down what the 3D zoom effect actually is, how it creates the illusion of depth, how to apply it using a CapCut template, and — just as important — which kinds of clips make it look incredible and which make it fall flat.
What the 3D zoom effect looks like in practice
A normal zoom simply scales the image up. A 3D zoom does something cleverer: it separates the photo into layers — typically a foreground subject and a background — and moves them at different speeds. The subject grows larger while the background recedes, which mimics how a real camera moving through 3D space would behave. Your brain reads the relative motion as depth, and a flat photo suddenly feels like a scene you could step into.
Creators use it for photo reveals, lyric videos, travel recaps, product shots, and “main character” style edits. It is especially popular for single-photo videos, where there is no real camera movement to work with and the effect supplies all the motion.
How the effect actually works, in plain English
There are two ways the look gets made. In CapCut’s dedicated 3D Zoom effect, the app uses depth estimation to guess which parts of the image are near and far, then animates a virtual camera push through that depth map. In template versions, the creator has usually pre-built the move with keyframed scale and position animation across duplicated, masked layers — foreground elements scale faster than the background, producing the same parallax feel.
You do not need to understand any of that to use it. What matters is knowing that the effect needs depth information to work with — which is why some photos produce a stunning result and others look like a plain zoom. More on that below.
Applying it with a template: step by step
- Find a 3D zoom template. Search “3D zoom” in CapCut’s template tab and watch a few previews — the speed and intensity vary a lot between templates.
- Tap “Use template” and select your photo or clip. One strong image is enough for most 3D zoom templates.
- Let CapCut generate the preview. Check the focal point: the effect should push toward your subject’s face or the key object, not drift off into empty space.
- Adjust the intensity if the template allows it. A subtle push feels premium; an extreme zoom can look gimmicky.
- Add text or music if the template includes those layers, then export at 1080p or higher. The depth illusion breaks down fast at low resolution.
The best clips to pair with a 3D zoom
Not every photo deserves the effect. Here is what works — and what does not.
Portraits with clean separation. A person against a blurred or distant background is the ideal case. The depth gap between subject and background is large, so the parallax reads clearly and the result looks almost holographic.
Landscapes with foreground interest. A photo with rocks, a fence, or flowers in the foreground and mountains behind gives the effect multiple layers to play with. The result can look genuinely aerial.
Product and flat-lay shots. A watch, sneakers, or a styled desk setup — the 3D push makes objects feel tangible and premium, which is why brands love this effect for quick ads and product teasers.
Architecture with leading lines. Hallways, bridges, and streets converging toward a vanishing point. The zoom follows the lines and the sense of depth feels enormous.
What to avoid: busy group photos where everyone sits on the same plane, screenshots full of text, and heavily compressed images. With no real depth separation, the effect degrades into a plain digital zoom — and a blurry one at that.
Fine-tuning tips
Match the zoom speed to the music. A slow push suits emotional or cinematic tracks; a fast punch-in works with beat drops and transitions. Mind the edges. Aggressive zooms can expose stretched, warped pixels at the frame borders — if you see smearing there, dial the intensity back. Combine sparingly. One 3D zoom per video is a moment; five in a row is a gimmick. Use it for the reveal or the climax and let the rest of the edit breathe. Export high. Depth effects depend on clean detail, so never let the app export at reduced quality.
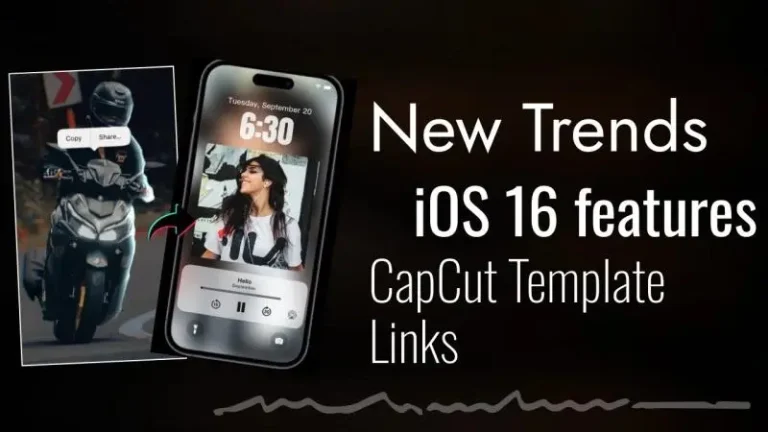
If you like stylized, eye-catching formats, the iOS 16 CapCut Template is another creator favorite — it wraps your clips in a clean, Apple-style interface aesthetic that looks sharp on any feed.
Frequently asked questions
Is the 3D zoom template free? Yes — 3D zoom templates in CapCut are free to use. A few templates combine the effect with Pro-only transitions, which the preview will flag before you apply.
Does it work on videos or just photos? Both, but it shines on photos. On video, the camera is usually already moving, so the artificial depth adds less.
Why does mine look like a normal zoom? Almost always a depth problem: the photo has no clear foreground and background separation, or the resolution is too low for the depth estimation to find edges. Try a portrait with a blurred background.
Can I change where it zooms toward? In most templates the focal point is fixed, but some let you reposition it. If yours does not, pick a template whose default focus matches your subject’s position in the frame.
The 3D zoom endures because it solves a real problem: making still images feel alive. Choose a photo with genuine depth, keep the move confident but restrained, and export clean. For the full set of trending formats, explore the latest templates on thecupcut.com — and if you want premium effects without watermarks, the CapCut MOD APK latest version has you covered.