Important CapCut Editing Tips and Tricks for Creating Amazing Videos

Editing is what separates a forgettable clip from a video people watch to the very end. CapCut puts genuinely professional tools — a multi-track timeline, keyframes, auto captions, speed curves, and background removal — inside a free app on your phone or computer. But tools alone do not make great videos; decisions do. If you are just getting started, you can download the CapCut MOD APK to unlock all premium features and export without a watermark, then work through the practical tips below.
These tips follow the same order professional editors think in: plan the story first, cut for pacing, design the sound, polish the visuals, and export correctly. You do not need to master everything at once — apply even half of these ideas and your videos will look noticeably more polished.
1. Plan Your Edit Before You Open CapCut
Most weak videos are not ruined in the editor; they are ruined before editing starts. Before you import a single clip, decide on three things: the hook, the structure, and the format. Your hook is what appears in the first two seconds — a bold statement, a question, or the most exciting moment of the video. Viewers decide whether to keep watching almost instantly, so never open with a logo animation or a slow fade-in.
Next, sketch a simple structure: hook, main content in two or three beats, and a clear ending with a call to action. Shooting with the edit in mind makes everything easier — record extra b-roll, leave a second of silence before and after each take so you have clean handles to trim, and capture room tone or background audio you can layer under cuts.
Finally, choose your aspect ratio before you shoot. Vertical 9:16 is the standard for TikTok, Instagram Reels, and YouTube Shorts, while 16:9 suits YouTube long-form. In CapCut, tap the canvas format button at the start of a project so every later decision — framing, text placement, cropping — is made for the right shape. Reframing later is covered in our guide to cropping videos in CapCut, but getting it right from the start saves hours.
2. Master the Timeline Basics
Every advanced technique in CapCut is built on a handful of timeline operations. Tap a clip and use Split to cut it at the playhead — this is how you remove mistakes, umms, and dead air from talking-head videos. Drag the edges of any clip to trim it, and pinch to zoom the timeline when you need frame-level precision for cutting on a beat or a word.
Learn to work in layers. CapCut supports multiple video, audio, and text tracks, so stack b-roll above your main footage as an overlay, keep music on its own audio track, and put captions on a separate text layer. Select a gap between clips and delete it to ripple everything closed — leaving black gaps is one of the most common beginner mistakes and it kills momentum.
3. Cut for Pace, Not Just Length
Good pacing is invisible; bad pacing feels like the video is dragging even when it is short. The single biggest improvement most beginners can make is cutting more aggressively. Remove every pause, repeated word, and tangent that does not serve the point. For talking-head content, jump cuts — cutting straight from one sentence to the next in the same framing — keep energy high and are completely accepted by viewers on every platform.
Vary your shot length deliberately. Fast, punchy sections work best with shots of one to three seconds, while emotional or explanatory moments can breathe a little longer. A simple trick: watch your edit back at normal speed and notice the exact moment your attention drifts — that is where a cut, a b-roll insert, or a camera push belongs. Finish by watching the whole video on your phone, because that is how almost everyone else will see it.
4. Use Transitions Sparingly and Intentionally
CapCut offers hundreds of transitions, and the temptation is to use all of them. Resist it. The hard cut — no transition at all — should be your default, because it is clean, modern, and never distracts. Save stylized transitions for moments that earn them: a whip pan or zoom blur when the music drops, a smooth slide when changing location, or a light leak when shifting to a new scene.
Whatever you choose, stay consistent. Using one or two transition styles across a whole video looks intentional; using ten looks chaotic. In CapCut, tap the small icon between two clips on the timeline to open the transition panel, preview each option on your actual footage, and keep the duration short — most transitions look best between 0.2 and 0.5 seconds. If a transition draws attention to itself instead of serving the story, delete it.
5. Treat Audio as Half the Video
Viewers will forgive slightly soft footage, but they will not forgive bad audio. Start with music that matches the energy of your edit rather than just a trending sound — CapCut’s audio library lets you preview tracks against your timeline, and you can also import your own. Keep background music low enough that dialogue stays crystal clear; a good rule is to dip the music by 6 to 10 decibels under speech, which you can do with volume keyframes or CapCut’s ducking options.
Layer in sound effects for emphasis: whooshes under transitions, subtle clicks on text pop-ins, ambient sound under b-roll. CapCut can extract audio from any video clip, record a voiceover directly onto the timeline, and reduce background noise on dialogue with one tap — run noise reduction on any clip recorded in a noisy room before you do anything else. Always do your final audio check on headphones, which reveal hiss, clipping, and uneven levels that phone speakers hide.
6. Add Captions and Text People Actually Read
A large share of social video is watched with the sound off, so captions are not optional — they are a retention tool. CapCut’s Auto captions feature (Text → Auto captions) transcribes your speech in seconds, but always proofread the result; names, slang, and homophones are where auto transcription slips. Fix errors, then style the captions for readability: a bold font, a contrasting stroke or background box, and a size large enough to read on a phone held at arm’s length.
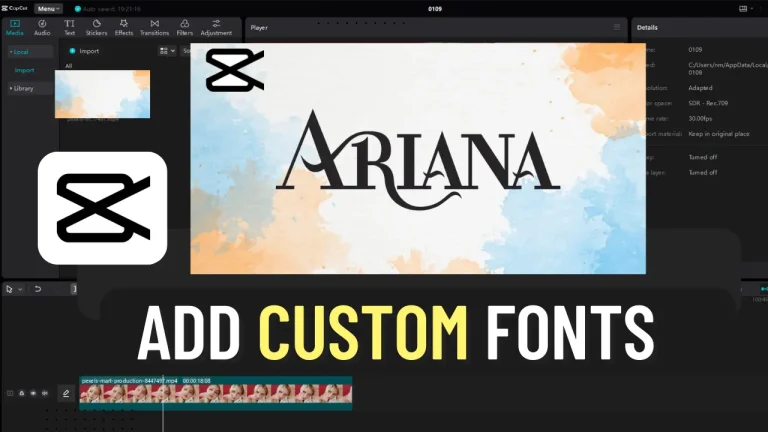
Keep each caption on screen long enough to read comfortably — roughly three to six words per line and no faster than most people can read aloud. For titles and emphasis text, pick one or two fonts for the whole video and stick with them; mixing five typefaces looks amateur. If you want typography that stands out from the defaults, see our tutorial on adding custom fonts to CapCut on both mobile and PC.
7. Color: Adjust First, Filter Second
Filters are tempting because they are one tap, but professional-looking color comes from the Adjust panel first. Start by fixing exposure and white balance so skin tones look natural, then add a touch of contrast and saturation. Only after the footage looks correct should you apply a creative filter — and usually at reduced intensity (try 40–60% instead of 100) so it enhances rather than overpowers.
Consistency matters more than any single look. If your video cuts between clips shot in different light, match them before styling: adjust the darker clip up, cool the warmer one down, and copy the same adjustment settings across similar clips. CapCut lets you copy adjustments from one clip and paste them onto others, which keeps a vlog or montage feeling like one cohesive piece instead of a patchwork.
8. Use Keyframes for Smooth, Cinematic Motion
Keyframes are the secret behind the smooth zooms, pans, and animated text you see in high-end edits, and they are simpler than they look. Set a keyframe on a clip’s scale or position, move the playhead forward, change the value, and CapCut animates between the two points. This is how you create the slow Ken Burns push-in on a photo, make a sticker glide across the screen, or zoom into a reaction at exactly the right moment.
Two details separate smooth motion from robotic motion: easing and restraint. Ease your keyframes so movement accelerates and decelerates naturally instead of starting and stopping abruptly, and keep motion subtle — a 105% to 115% scale change over two seconds feels cinematic, while wild swings feel gimmicky. The same technique powers speed ramping: use CapCut’s curve speed tool to slow down into a key moment and snap back to normal speed for dynamic action sequences.
9. Export With Settings That Protect Quality
A great edit can still look bad if it is exported wrong. Match your export resolution to your source footage — 1080p is the sweet spot for most social video, and only choose 4K if your original clips are actually 4K, since upscaling adds file size without adding detail. Match the frame rate to your project (30fps for most social content, 24fps for a cinematic feel) rather than letting it default to something mismatched, which causes subtle stutter.
Use a high bitrate or the “higher quality” export option; heavy compression is what creates those blocky artifacts in gradients and dark scenes. Avoid exporting, re-importing, and exporting again — every compression pass degrades the video, so keep your CapCut project file and export the final only once. Before posting, watch the exported file itself (not just the timeline preview) and check the beginning, middle, and end for glitches, audio sync, and framing.
Quick-Reference: Recommended Settings by Platform
| Platform | Aspect ratio | Resolution | Frame rate |
|---|---|---|---|
| TikTok / Reels / Shorts | 9:16 vertical | 1080 × 1920 | 30 fps |
| YouTube (long-form) | 16:9 horizontal | 1920 × 1080 | 24 or 30 fps |
| Instagram feed post | 4:5 vertical | 1080 × 1350 | 30 fps |
| Facebook / X (Twitter) | 1:1 or 16:9 | 1080 × 1080 | 30 fps |
Common Beginner Mistakes to Avoid
- Transition overload. A different flashy transition on every cut screams beginner — default to hard cuts.
- Ignoring audio. Music drowning out dialogue or uneven volume between clips will lose viewers faster than any visual flaw.
- Text too small or too fast. If it cannot be read comfortably on a phone screen, it might as well not be there.
- Wrong aspect ratio. Exporting a vertical video with black bars (or cropped heads) usually means the canvas format was never set.
- Over-filtering. Maximum-intensity filters and stacked effects flatten detail and make footage look muddy.
- Skipping the final watch-through. Always review the exported file end to end before publishing.
Frequently Asked Questions
Is CapCut free to use?
Yes. CapCut’s core editing tools are free on mobile, desktop, and web. There is an optional Pro subscription that adds extra effects, transitions, and cloud storage, but everything covered in this guide works with the free version — and the CapCut MOD APK unlocks premium features and removes the watermark at no cost.
What is the best export setting for TikTok and Reels?
Export at 1080 × 1920 (9:16), 30fps, with the highest quality/bitrate setting. This matches what the platforms expect and avoids extra recompression that softens your video.
How do I remove the CapCut watermark?
CapCut adds an outro clip with its logo at the end of some exports — you can select it on the timeline and delete it before exporting. For a fully watermark-free workflow, the CapCut MOD APK exports without any watermark.
Can I edit the same project on my phone and PC?
Yes, if you sign in to the same CapCut account on both devices and enable cloud sync, your drafts and uploaded media stay available across mobile and desktop. This is ideal for starting a rough cut on your phone and finishing precise edits on a bigger screen.
Final Thoughts
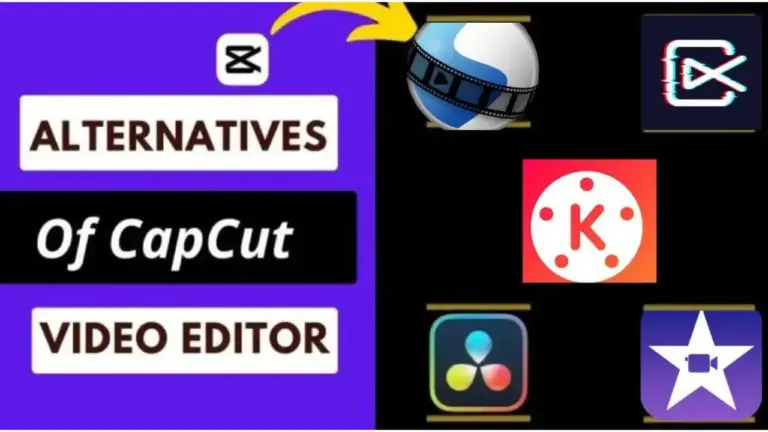
You do not need every trick in this guide to make your next video better — pick the two or three that address your biggest weakness and practice them deliberately. Plan the story, cut the dead air, clean up the audio, and export at the right settings, and you will already be ahead of most creators. Bookmark this page for your next edit, and if you ever feel limited by CapCut itself, take a look at our comparison of the top CapCut alternatives to see what else is out there.